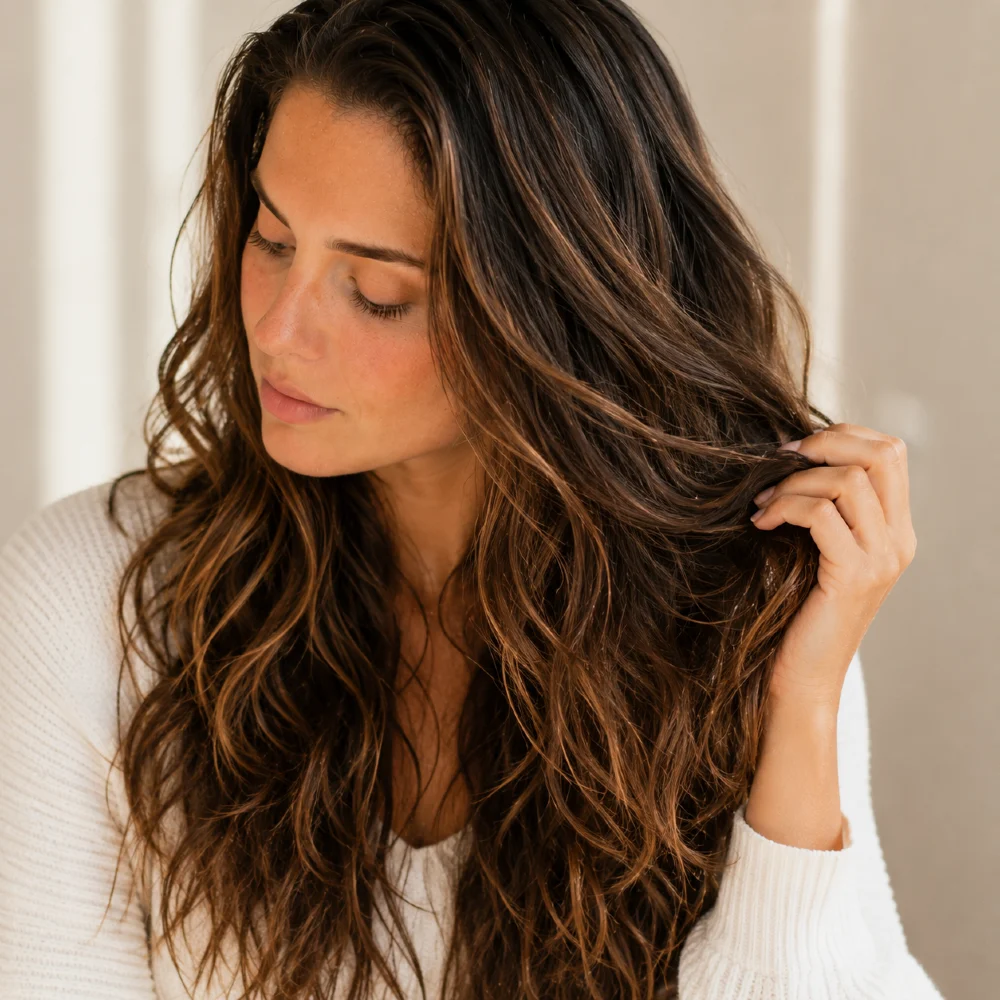
Air-drying hair sounds like the simplest thing in the world. Wash, walk away, done. But anyone who has tried it knows the truth: most air-dried hair ends up frizzy, flat, weirdly shaped, or all three. Meanwhile, certain people seem to step out of the shower and end up with that effortless, glossy, lived-in texture that looks like they paid a hundred and fifty dollars for it. The secret is not lucky genetics. It is technique.
Salon-worthy air-dried hair is built in stages, and every stage matters. The products you use, the order you apply them in, how you remove water, how you shape your hair while it is wet, and what you do once it is finally dry, all of it contributes to whether you end up with frizz or with that soft, polished finish you actually want.
Step 1: Start with the Right Wash
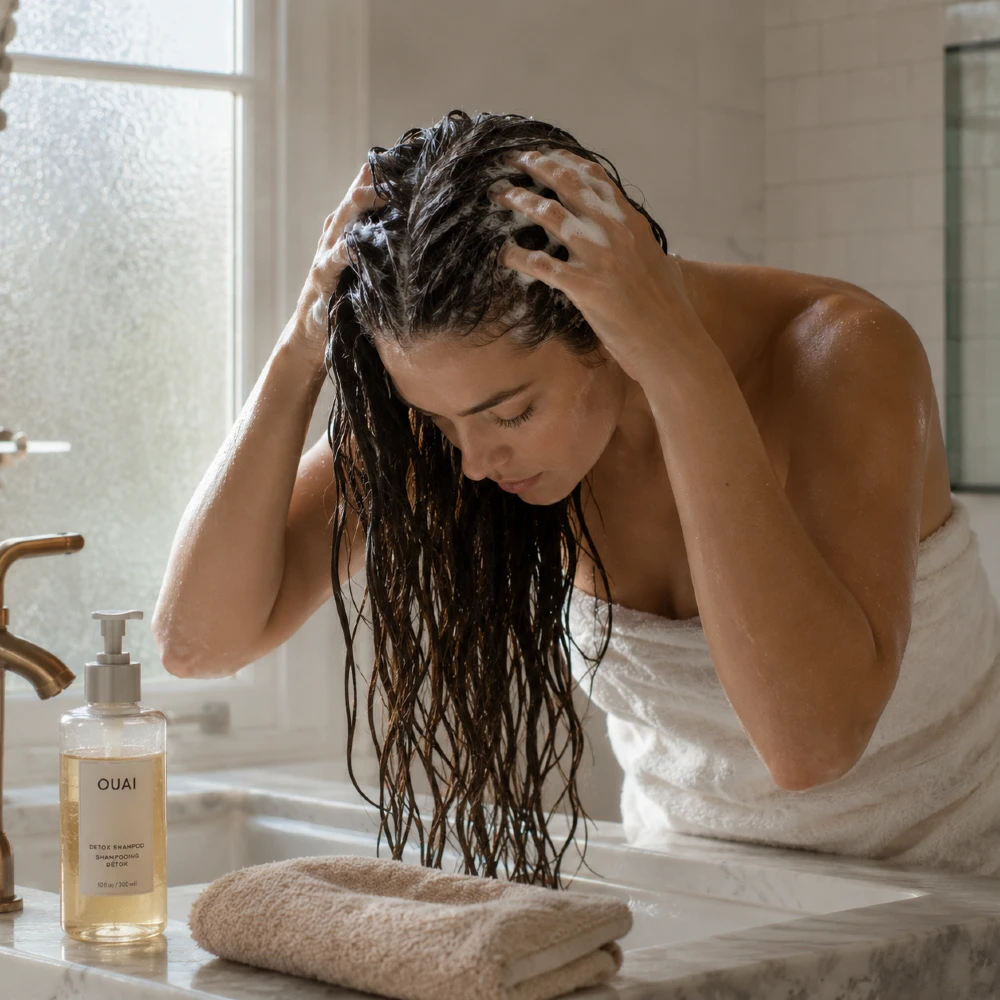
Salon-worthy air-dried hair begins long before you pick up a comb. The shampoo and conditioner you choose set the tone for everything that follows. Hair that has been over-cleansed with sulfates, or weighed down by silicone-heavy conditioner, will never air-dry into something graceful. It will dry crunchy, frizzy, or limp.
Use a sulfate-free, gentle shampoo only at the scalp, where buildup actually accumulates. Let the suds run through the lengths as you rinse, which is more than enough cleansing for the rest of your hair. Follow with a hydrating conditioner from the mid-lengths to the ends, never the scalp. Leave it in for three to five full minutes so the cuticle actually has time to absorb it.
Rinse with cool water at the end. Cold water seals the cuticle, locks in moisture, and is one of the simplest tricks that separates dull air-dried hair from glossy air-dried hair.
Pro Tip: Wash your hair the night before if you can. Slightly day-old hair air-dries with better texture
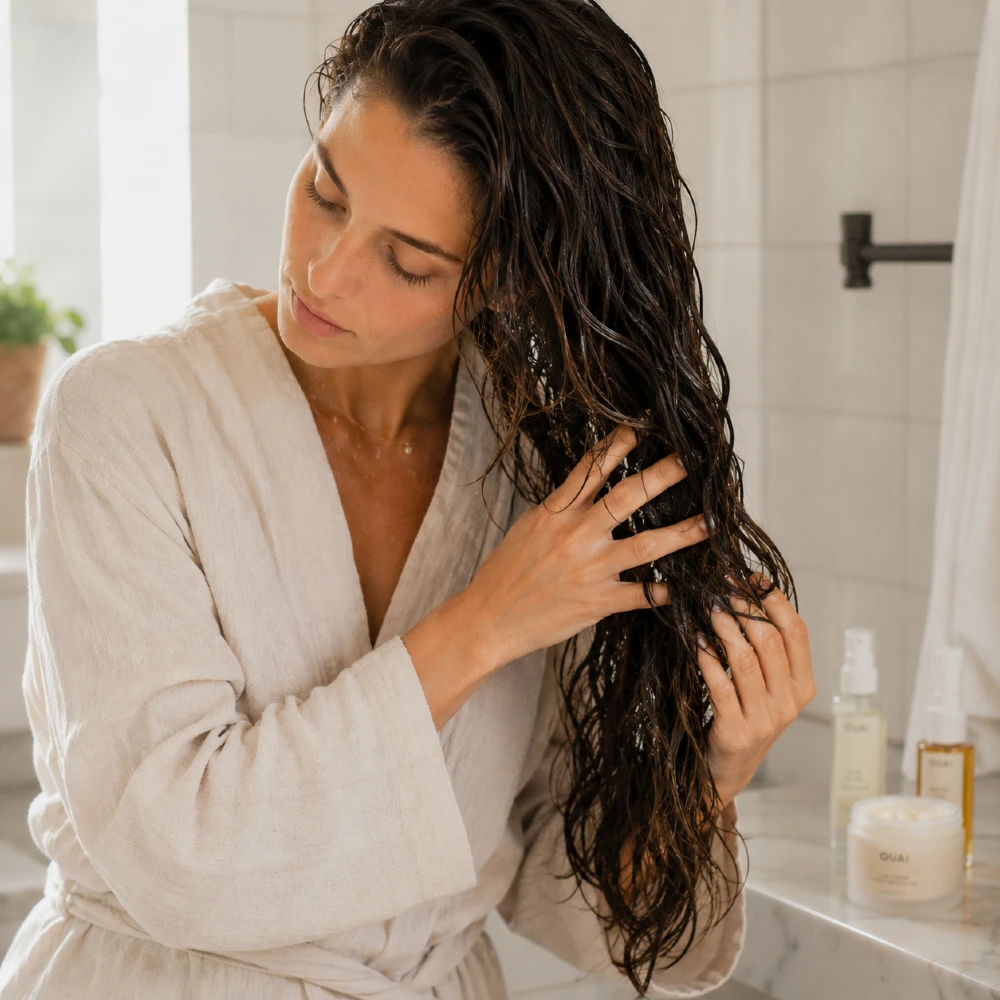
Step 2: Squeeze Out Excess Water the Right Way
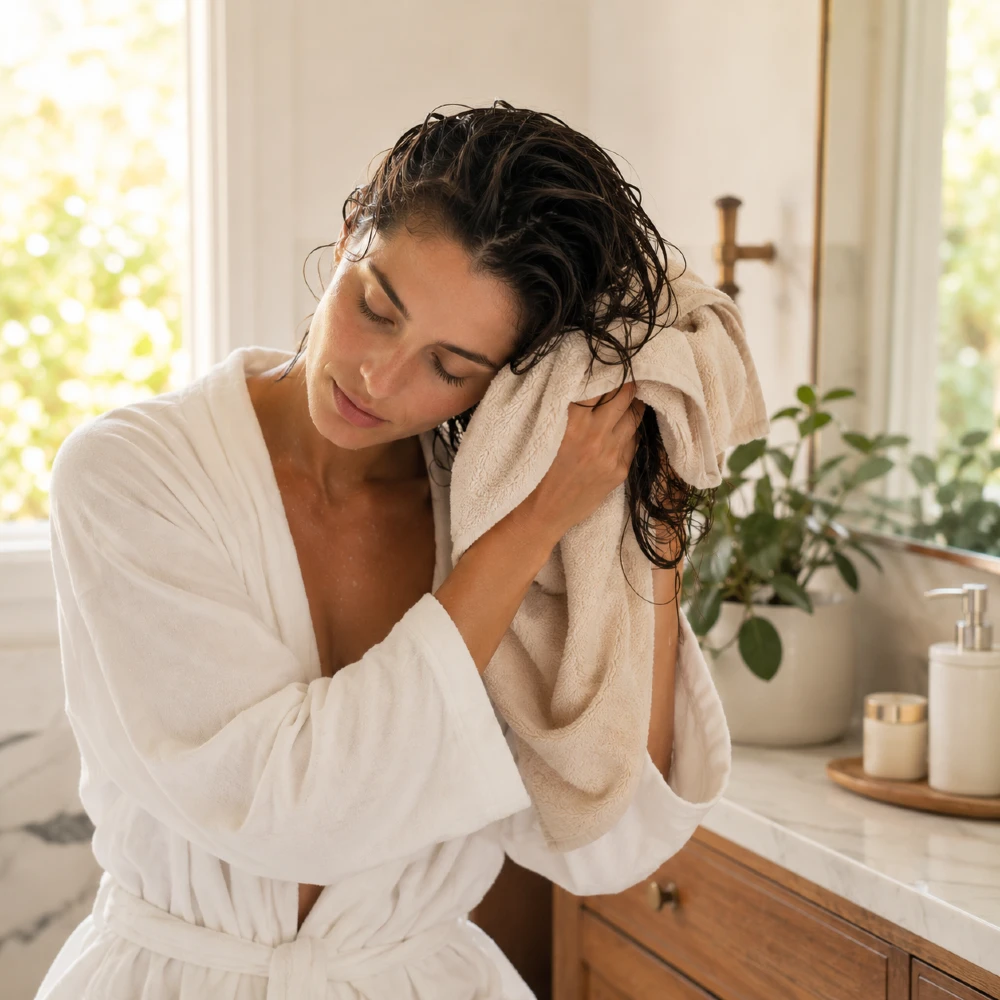
The single biggest mistake people make with air-drying is twisting and wringing soaking wet hair like a wet towel. Wet hair is at its most fragile, and aggressive squeezing creates frizz, breakage, and that puffy halo that ruins the look later.
Instead, gently press the water out by sliding your palms down the length of your hair from roots to ends. Do this twice. Then use a microfiber towel or a clean cotton t-shirt to scrunch the hair upward toward the scalp in small, careful motions. A regular terry-cloth towel is the enemy here. Its rough loops grab the cuticle and rough it up, which is why salon dryers prefer microfiber.
The goal is hair that is damp, not dripping. You should be able to gather your hair in your hand without water running down your arm.
Pro Tip: Plop your hair in a t-shirt for ten minutes after squeezing. This removes another layer of moisture without disturbing your natural texture.
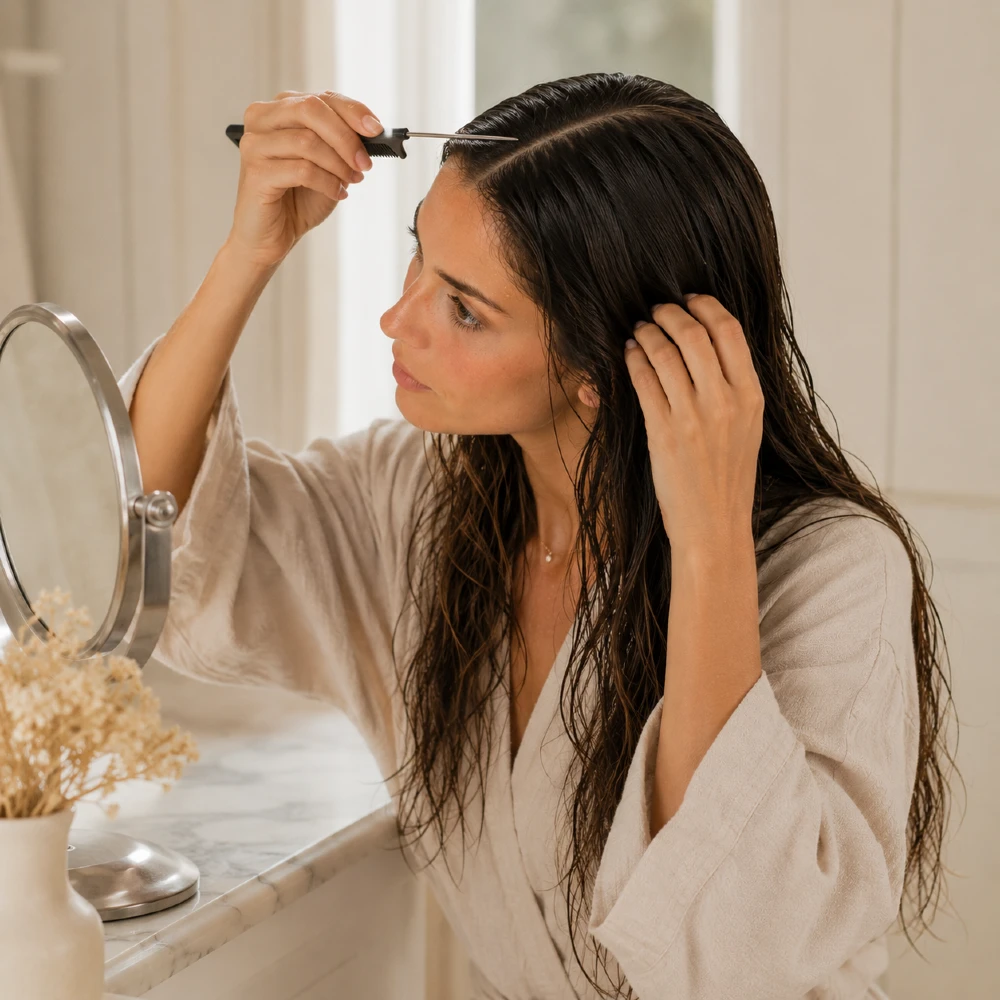
Step 3: Detangle While Hair Is Still Damp
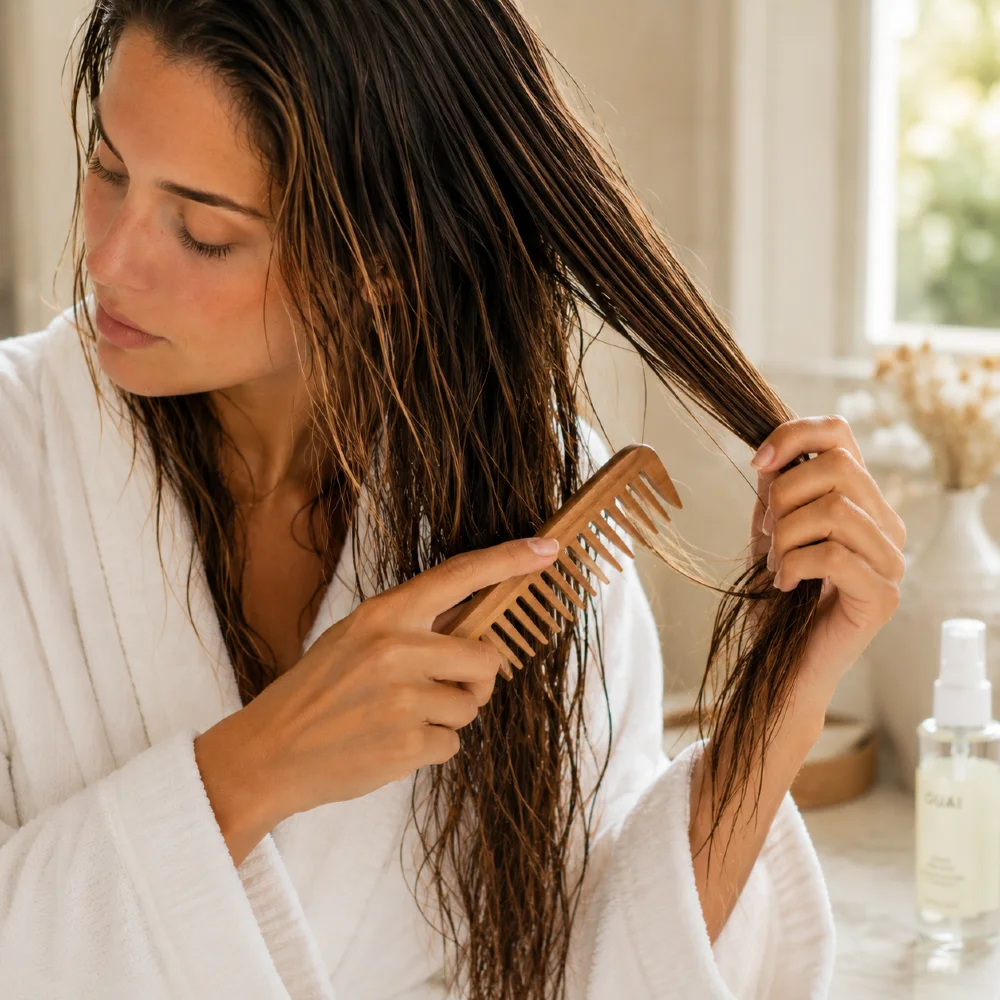
Air-dried hair lives and dies by how well it is detangled. If you brush it after it dries, you will break the natural wave or curl pattern and trigger frizz across every strand. If you skip detangling completely, you will end up with knots that ruin the finished look. The sweet spot is right now, while the hair is damp and pliable.
Use a wide-tooth comb or a wet-hair brush, the kind with flexible bristles designed not to snag. Start from the very ends and work your way up in small sections. Never rip a brush down from the roots in one stroke on wet hair. You will break it.
Apply a small amount of leave-in conditioner or detangling spray before you start. This adds slip, protects the cuticle, and makes the entire process gentler.
Pro Tip: Hold each section above where you are detangling. This stops the comb from pulling at the scalp and reduces tension breakage.
Step 4: Layer Your Products in the Right Order
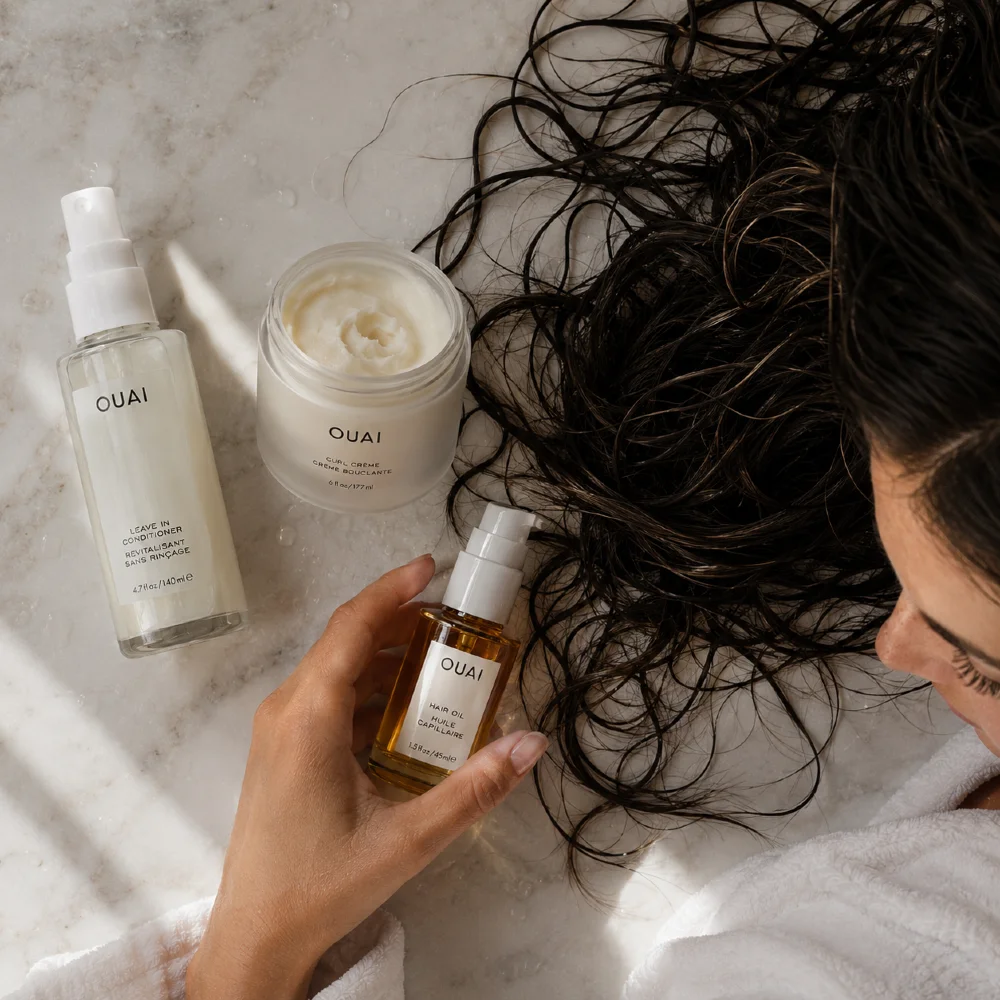
Product order matters more than most people realize. Salons stack products from lightest to heaviest, and they always apply them to damp, not soaking, hair. This is the order that gives you the most polished air-dried result.
First, a leave-in conditioner or hair milk to add moisture and a soft barrier against frizz. Second, a heat-free styling product chosen for your hair type: a curl cream for waves and curls, a smoothing serum for straight hair, or a styling mousse for fine hair that needs lift. Third, a few drops of hair oil rubbed between your palms and pressed into the ends only, never the roots.
Use less than you think you need. Air-dried hair punishes heavy-handed product application. You can always add more after the first quarter-dry test.
Pro Tip: Apply products to hair flipped upside down. This naturally encourages volume at the roots as the hair dries.
Step 5: Distribute the Product Evenly
Spotty product application is what creates that frustrating split between glossy lengths and frizzy ends. Once your products are in your hands, rake them through your hair from the mid-lengths to the ends using your fingers spread wide. Avoid the scalp unless you are using a root-lift mousse. The roots need to breathe to dry quickly and avoid that flat, oily look at the top.
After raking, use a wide-tooth comb to distribute the product even more evenly. One slow pass from the mid-lengths down is enough. This ensures every strand gets a coating, which is the actual secret to a smooth, salon air-dry.
If your hair is curly or wavy, end this step by scrunching upward toward your scalp. Scrunching encourages your natural pattern to clump together rather than separating into frizz as it dries.
Pro Tip: Section your hair into four parts (two front, two back) and apply product to each section individually. It is more even, and it only takes another two minutes.
Step 6: Shape It, Then Walk Away
This is the step that home stylists rush, and it is what separates messy air-dried hair from polished air-dried hair. Once the products are evenly distributed, take ninety seconds to actually shape your hair into the position you want it to dry in.
For waves and curls, scrunch upward and twist small sections around two fingers to encourage definition. For straight or wavy hair, comb a clear part in (center, side, or zig-zag), tuck the hair behind your ears or sweep it back as you want it to set. The position your hair dries in is the position it will hold for the rest of the day.
Then leave it alone. Touching air-drying hair is the fastest way to create frizz. Every touch breaks up the cuticle alignment that is happening as the water evaporates.
Pro Tip: If you want extra volume, clip the roots of your hair upward with small claw clips or Velcro rollers and leave them until the hair is fully dry.
Step 7: Air-Dry in the Right Environment

Where you let your hair dry matters almost as much as how you prepped it. Hair dries best in a calm, dry, room-temperature environment. Sitting under a ceiling fan or in front of a wide-open window creates turbulent airflow that disrupts the cuticle and frizzes the strands as they set.
Avoid going outside while your hair is damp on humid or windy days. Humidity is the natural enemy of air-dried hair. It re-introduces moisture to the cuticle and causes it to swell, which is exactly how frizz forms.
If you absolutely have to speed things up, do not reach for the hair dryer. Use a diffuser attachment on the lowest, coolest setting only, and hold it at least six inches away from your hair. The goal is to encourage evaporation, not blast the cuticle around.
Pro Tip: Drying time depends on hair thickness. Fine hair air-dries in 45 to 90 minutes. Thick or curly hair can take two to four hours. Plan accordingly.
Step 8: Refine and Finish Once It Is Dry
Once your hair is fully dry, it is tempting to declare the job done and walk out the door. Resist this. The finishing minute is what makes the difference between hair that looks air-dried and hair that looks expensive.
First, flip your head upside down and gently shake your hair at the roots for five seconds to add volume. Then flip back up. For waves and curls, lightly scrunch the lengths to break up any product cast and reveal soft texture underneath. For straight hair, run a single drop of hair oil through the ends, never the lengths, to add shine.
Optionally, a quick mist of flexible-hold hairspray held twelve inches above your head locks everything in without crunchiness. If you want to go a step further, use a one-inch curling iron on three or four random face-framing pieces only. That tiny touch of styled curl through air-dried texture is the exact formula that makes hair read as salon-finished.
Pro Tip: Always finish with a final cool blast of air from a diffuser or a cool-shot button on a dryer. It seals the cuticle one last time and is the move every blowout stylist swears by.
Common Air-Drying Mistakes to Avoid
Even with the right routine, a few habits will sabotage your results every time. Brushing dry hair after the fact is the most common one. It will frizz out your texture and flatten the volume you worked for. Touching your hair while it is drying is the second. Every touch disrupts the cuticle alignment that creates shine. Skipping leave-in conditioner because you think it makes hair greasy is the third. Without that base layer of slip and moisture, even the best products will not deliver a smooth finish.
Other small mistakes add up too. Going to bed with damp hair flattens it on one side and creates a strange shape by morning. Using too much product makes the hair stiff and weighed down. Using too little leaves you exposed to humidity. Aim for the smallest amount that still gives you slip throughout the strand.
How to Adapt This Routine for Your Hair Type
Straight hair benefits most from a smoothing serum, a fine-tooth comb to set the part cleanly, and a finishing drop of oil on the ends. Skip mousse and curl cream entirely. They will weigh straight hair down.
Wavy hair (types 2A to 2C) is the easiest to air-dry well. Use a light curl cream or styling lotion, scrunch upward, and let the natural pattern emerge. Diffusing for the last fifteen percent of dry time gives you noticeably more bounce.
Curly hair (types 3A to 3C) needs more product than you think and absolutely needs the praying-hands and scrunching technique to define curls. Apply curl cream, then gel on top, and resist touching for at least an hour.
Coily hair (types 4A to 4C) often benefits from the LOC method (leave-in, oil, cream) applied in sections, and may need overnight drying time. A satin bonnet preserves the shape if you have to sleep on it.
Final Thoughts
Salon-worthy air-dried hair is not about expensive products or natural hair luck. It is about treating each stage of the drying process as a deliberate step. Wash gently, remove water carefully, detangle while damp, layer products in the right order, shape your hair, dry it in calm air, and finish with intention. Do this once and you will already see better hair. Do it consistently and you will reach the point where you no longer reach for heat tools at all.
Air-drying done well is the lowest-effort, highest-payoff hair habit you can build. Your hair will be healthier, shinier, and easier to style, and you will save yourself an hour every week.