
The sleek bun is the quietest power move in hair. It signals polish, intention, and the kind of effortless confidence that takes more effort than people realize. It works for the office, weddings, dinner dates, gym sessions, and bad hair days alike. But anyone who has tried it at home knows the truth: most attempts unravel by lunch, develop flyaways within an hour, or sit awkwardly on the head and never look quite right.
The difference between a bun that falls apart and a bun that lasts twelve hours is technique, not luck. Salons follow a precise sequence of preparation, placement, and securing that ensures the bun stays exactly where you put it from the moment you finish until the moment you take it down at night. The good news is that every step can be done at home with tools you almost certainly already own.
Step 1: Start with the Right Hair Texture
The first secret of a sleek bun that lasts all day is counterintuitive: do not start with freshly washed hair. Newly washed hair is slippery, fluffy, and resists holding any shape for more than a few hours. Day-two or even day-three hair has enough natural grip and oil at the roots to lock a bun in place from morning to night.
If your hair is freshly washed and you cannot wait, prep it strategically. Apply a small amount of dry shampoo or texturizing powder at the roots and massage it in. This adds the grit your hair needs to hold tension. For sleek styles in particular, the goal is hair that feels slightly tacky at the roots and smooth along the lengths.
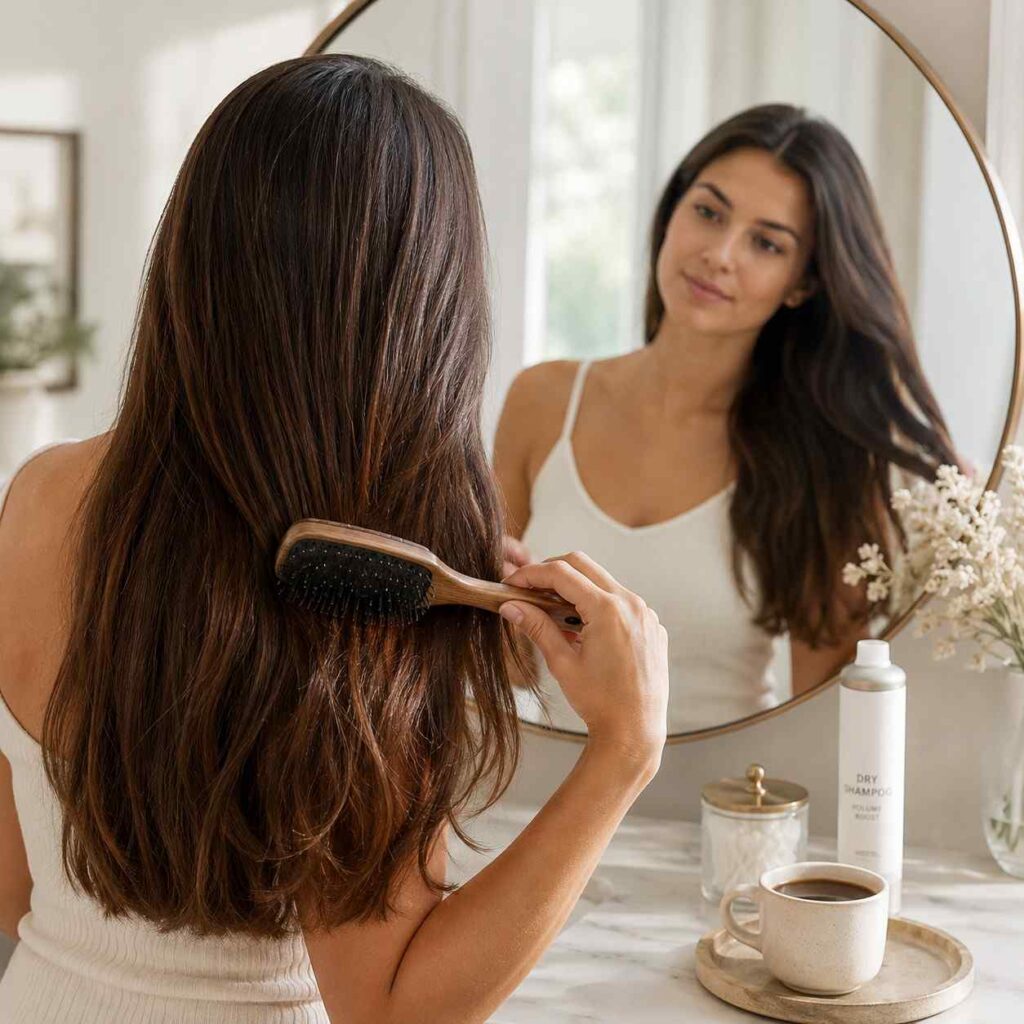
Brush your hair thoroughly before you start. Tangles will create bumps in the smooth surface you are trying to achieve, and you cannot fix them once the bun is in place.
Pro Tip: If your hair is too clean, lightly mist it with a salt spray or dry shampoo and let it sit for five minutes before you begin styling.
Step 2: Apply Smoothing Product to the Lengths
A sleek bun is only as sleek as the surface of your hair. Flyaways, frizz, and stray strands are what separate a polished bun from a messy one, and they are entirely controlled by what you put on your hair before you start pulling it back.
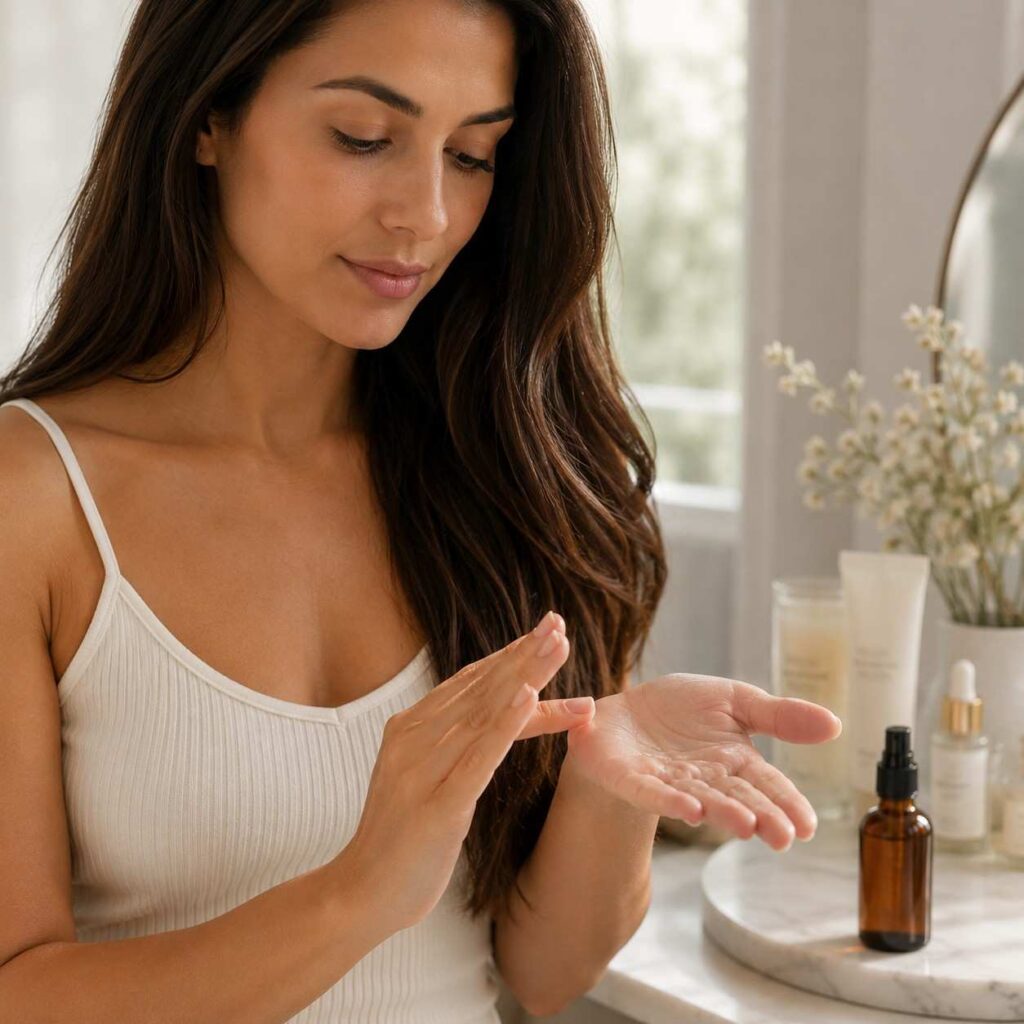
Work a small amount of smoothing serum, a few drops of hair oil, or a styling cream through the mid-lengths and ends. Avoid the roots and scalp for now, because product applied too high will make the hair too slippery to hold the bun in place. Smooth your hair by running your palms down the length once or twice.
If your hair is particularly thick or frizz-prone, you can add a tiny bit of strong-hold gel or edge-control along the hairline and around the ears. This will be your secret weapon for the next step.
Pro Tip: Less product is always better. You can add more, but you cannot take excess product back out once it is in your hair.
Step 3: Decide on Your Bun Placement
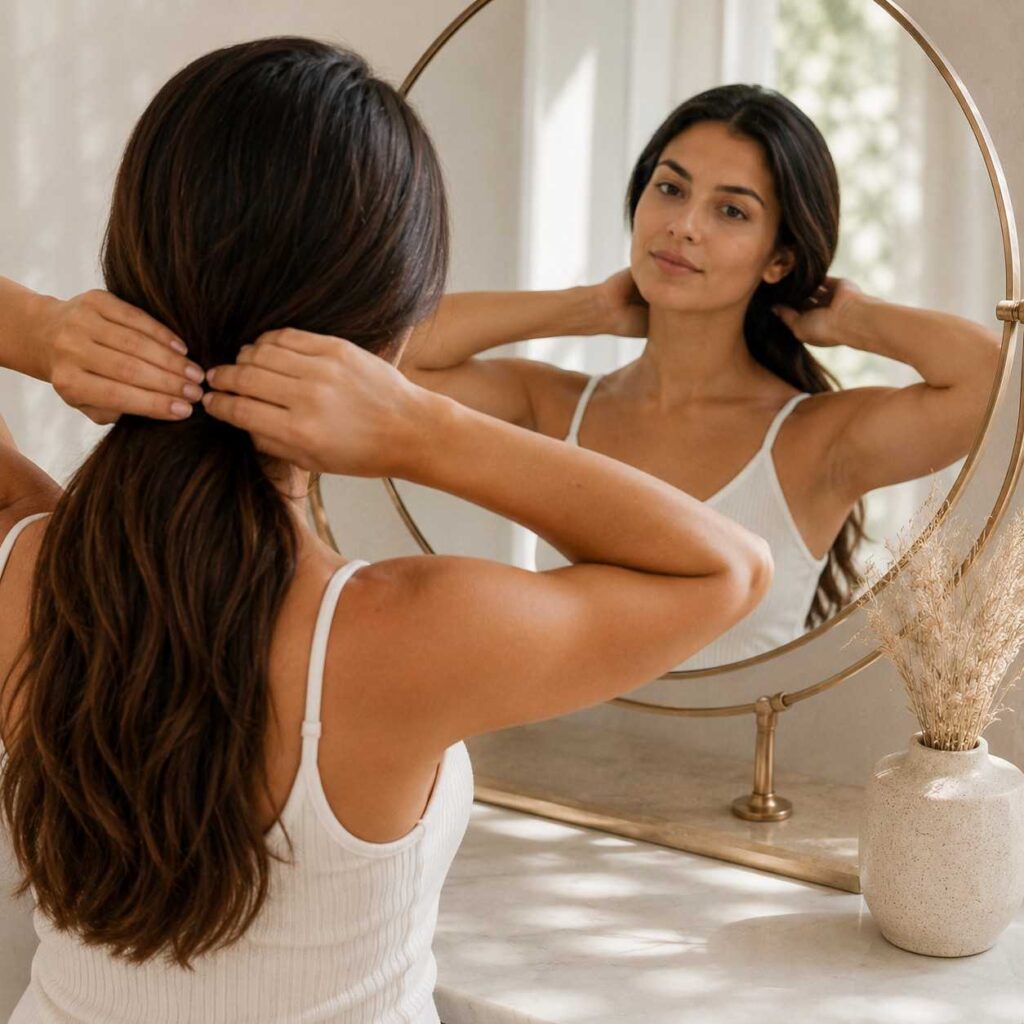
Where you place your bun changes the entire look. A high bun on top of the crown is dramatic and elegant, often associated with ballerinas or formal evening events. A mid-back bun sits at the back of the head and feels modern and editorial. A low nape bun is the most polished and professional, ideal for the office, weddings, or any setting that calls for understated sophistication.
To find the right placement for your face shape, tilt your head back. Where your hair naturally falls into your hand is a good guideline for where the bun will look most balanced on you. Long faces are flattered by mid or low buns, which add visual width. Round faces benefit from higher placement, which adds vertical lift.
Once you have decided on placement, gather your hair into your hand at that exact spot without securing it yet. This is the moment to smooth out any final bumps before you commit.
Pro Tip: Look in two mirrors if possible. The back of your head matters as much as the front, and a bun that looks centered from one angle can sit too far to one side from another.
Step 4: Smooth the Hair into a Tight Ponytail Base
Every great bun starts with a great ponytail. This is the foundation step that most people rush, and it is exactly why most home buns come undone by lunchtime. Using a bristle brush, sweep your hair toward your chosen bun placement, working from one side at a time. Pay extra attention to the sides above your ears and the very base of the neck, where flyaways love to escape.
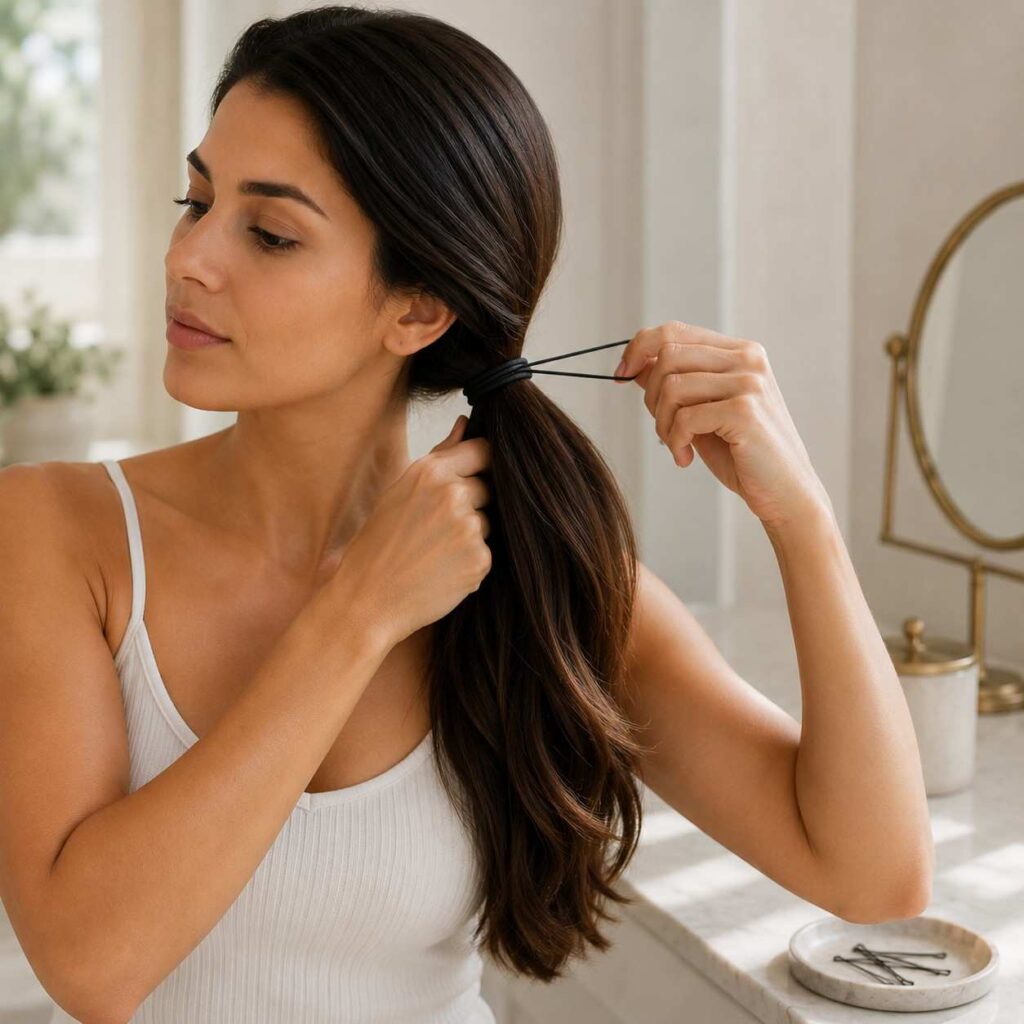
Once your hair is smoothly gathered, secure it with a strong, thin elastic. Avoid thick fabric-covered scrunchies for the base because they create bulk that prevents the bun from sitting flat. Use a clear elastic or a thin black elastic that matches your hair color and disappears into the style.
Twist the elastic around two or three times for a truly secure hold. The tighter the ponytail at the base, the longer the entire bun will last.
Pro Tip: For maximum hold, wrap the ponytail with two crossed bobby pins inserted into the base of the elastic in an X pattern. This anchors the entire structure to your scalp.
Step 5: Smooth the Top with a Toothbrush or Edge Brush
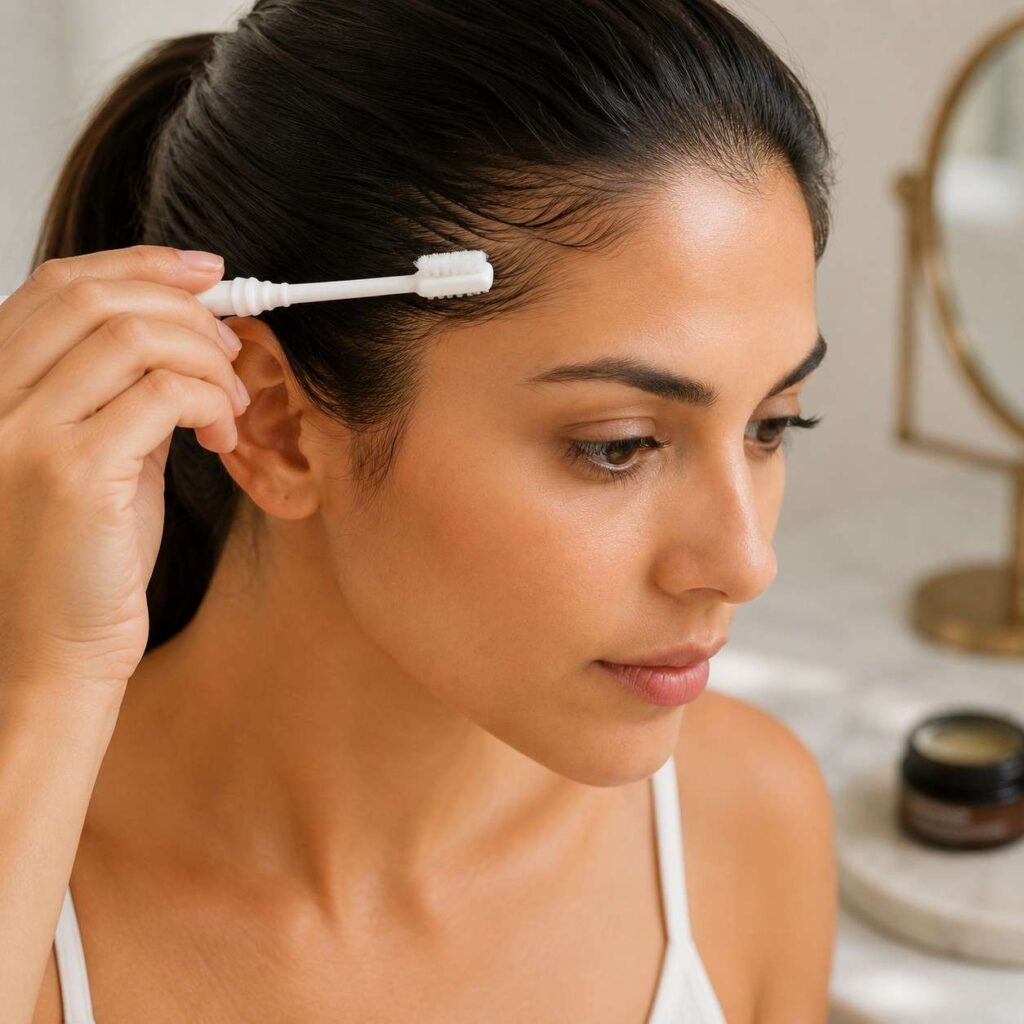
This is the step that separates a good sleek bun from a salon-finished one, and it takes less than ninety seconds. Once your ponytail is secured, use a clean toothbrush or a dedicated edge-control brush dipped lightly in hair gel or pomade to flatten every single flyaway across the top of your head.
Work from the front hairline back toward the elastic in small, sweeping motions. The fine bristles catch the tiny baby hairs and short broken strands that a regular brush completely misses. This is the technique you see in every editorial bun on a runway, and it is the single biggest visual upgrade you can make.
Pay special attention to the area right around the elastic. Bumps and uneven hair near the base of the ponytail will telegraph through the entire bun once it is wrapped. Smooth them now.
Pro Tip: If you do not have a dedicated edge brush, a clean baby toothbrush works perfectly. Many professional stylists actually prefer them for the soft yet precise bristle texture.
Step 6: Twist and Wrap the Ponytail into the Bun
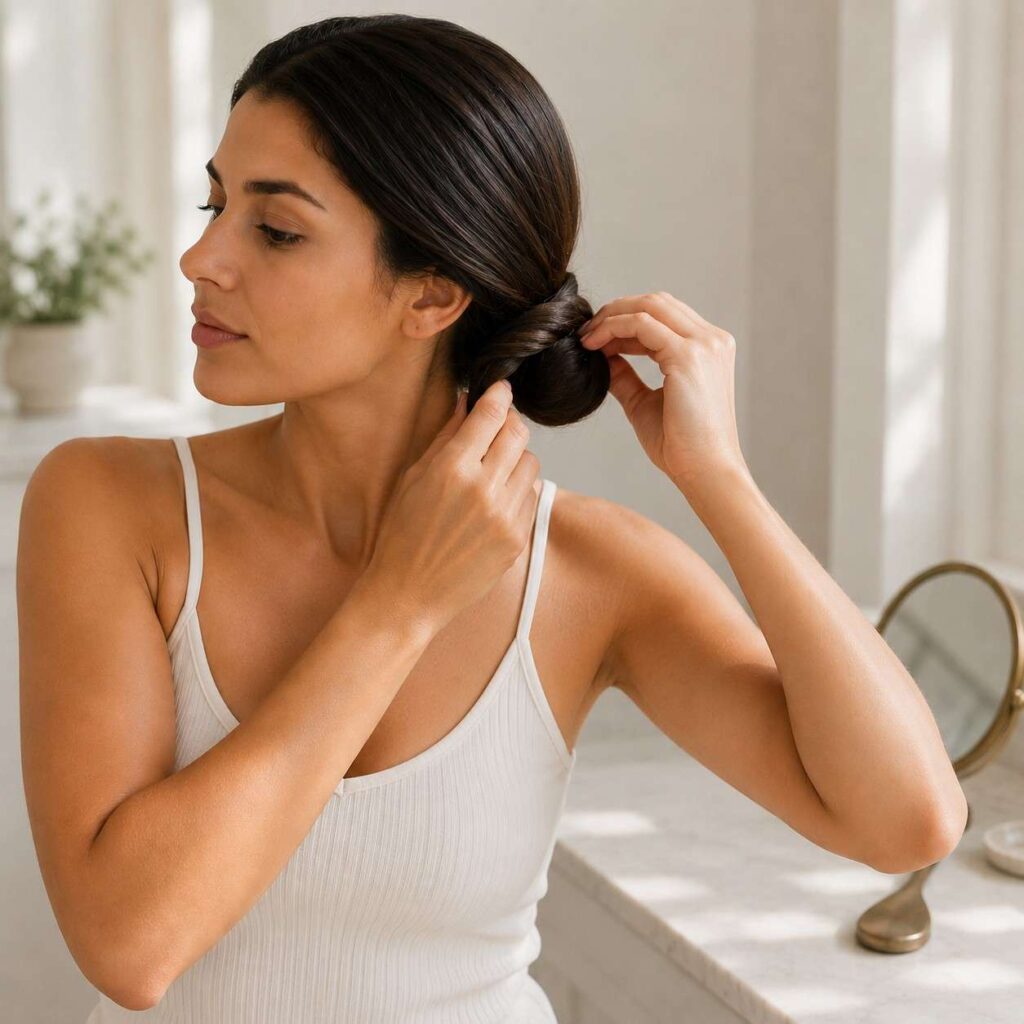
Now you build the bun itself. Take your ponytail in one hand and twist it tightly in one direction along its full length. Keep the twist firm but not painfully tight. Once the twist is consistent from base to ends, begin wrapping it in a circle around the elastic base, keeping the twist intact as you wrap.
Wrap in the same direction as the twist for the cleanest result. Continue wrapping until you reach the ends of your hair, then tuck the very tip underneath the bun so it disappears.
If your hair is too long to wrap into one neat loop, fold the ponytail in half first and wrap the doubled length around the base. This creates a fuller, rounder bun without needing to wrap multiple uneven layers.
Pro Tip: For a perfectly round bun, lay a small donut-shaped sponge over the elastic before wrapping, then wrap the twisted hair around the donut to create a smooth, even bun shape every time.
Step 7: Secure the Bun with Bobby Pins
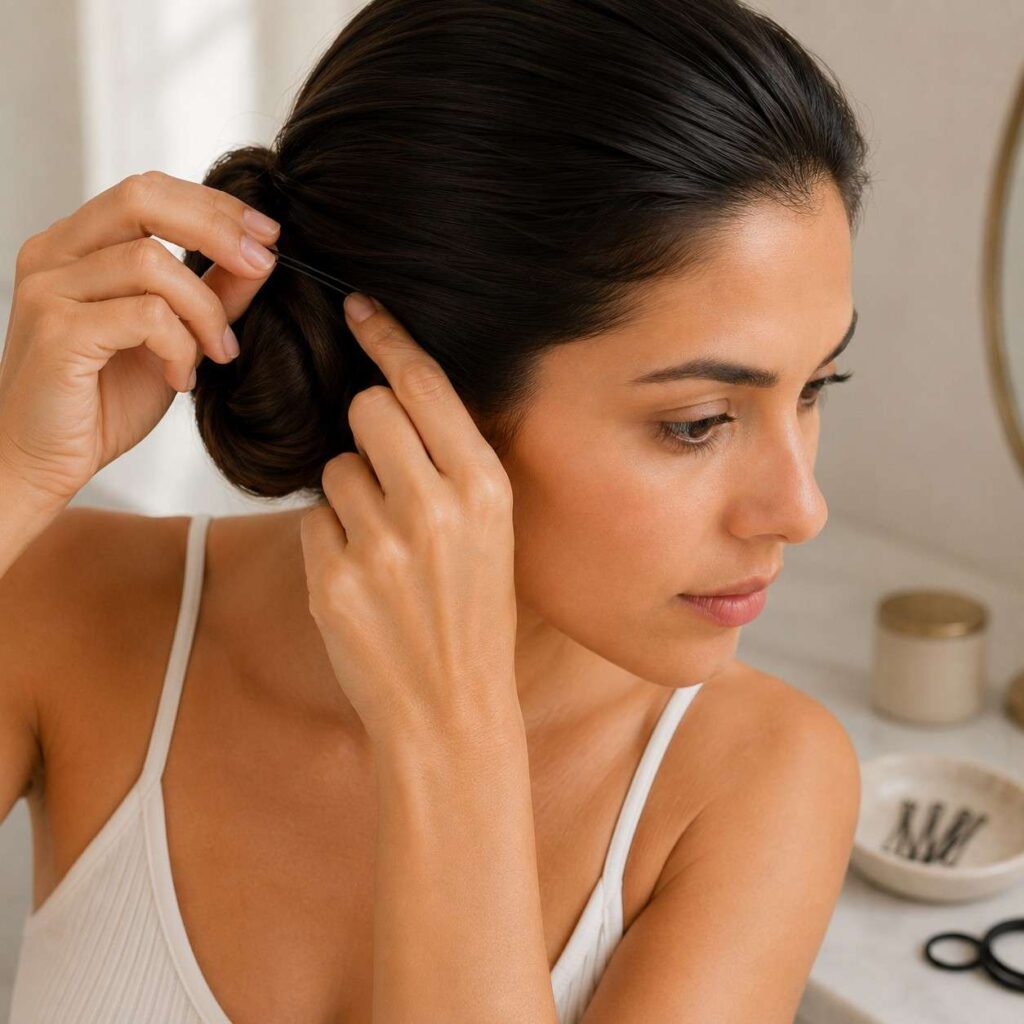
A bun that is only held by friction will slowly unravel as you move through your day. The real anchor is bobby pins, inserted in a deliberate pattern that locks the bun structure to your scalp.
Use bobby pins that match your hair color. Insert them by sliding them in horizontally at the edge of the bun, pointing toward the center of your head, with the wavy side of the pin facing down toward your scalp (the wavy side grips better). Use at least four to six pins, spaced evenly around the perimeter of the bun, anchoring different layers of wrapped hair to the ponytail base beneath it.
For maximum hold, cross two pins in an X pattern at the bottom of the bun where gravity will pull hardest. This locks the heaviest part of the bun against your head and prevents the entire style from drooping over the course of the day.
Pro Tip: Open and close each bobby pin once with your teeth before inserting. The slightly opened shape grips far more hair than a freshly tight pin.
Step 8: Lock in the Style with Hairspray
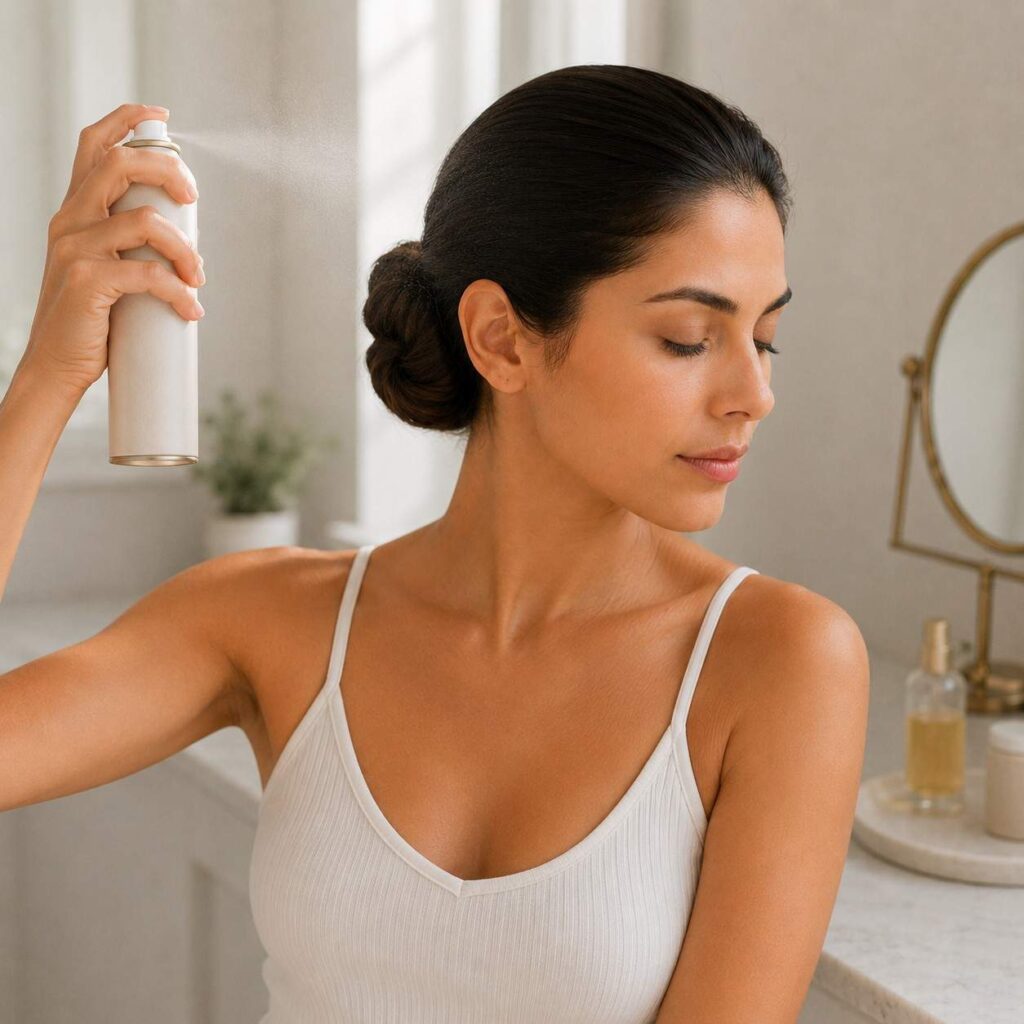
The finishing step is what makes the difference between a bun that lasts four hours and a bun that lasts twelve. Hold a can of strong-hold hairspray about ten inches from your head and mist evenly all around the bun, the smoothed top of your hair, and especially the hairline where flyaways might reappear later in the day.
For an even more durable hold, wait thirty seconds for the first layer to dry, then apply a second light mist. Two thin layers always outperform one heavy one, both for hold and for finish (heavy hairspray application leaves a visible stiff cast).
Finish by lightly running your palms over the top of your head one more time. This presses everything flat and removes any final stray hairs that the spray will have momentarily lifted.
Pro Tip: A flexible-hold spray is better than maximum-hold for a sleek bun. Maximum-hold can dry visibly white and creates that obvious crunchy look. Flexible spray sets quickly and stays invisible.
Common Sleek Bun Mistakes to Avoid
Even with the right routine, a few habits will sabotage your bun every time. The first is starting on freshly washed, slippery hair without prepping it with texturizing product. The second is using a single fabric scrunchie at the base instead of a thin elastic, which prevents the bun from sitting flat against the head. The third is using too few bobby pins. Four pins is the minimum for a bun that lasts. Six to eight is more reliable, especially for thick hair.
Another common mistake is over-spraying with strong-hold hairspray, which creates a visible stiff cast and actually weakens the structural hold the longer it sits. A light, flexible-hold spray applied in two thin layers performs better than one heavy blast.
Variations on the Classic Sleek Bun
Once you master the basic technique, the same foundation supports several variations. A center part instead of slicked-back hair creates an editorial 1990s supermodel feel. A doubled-up bun (wrapped twice into a higher dome) reads more dramatic and works for evening events. A wet-look slicked bun, achieved by working strong gel through the front sections before pulling back, gives you that runway-finish aesthetic that has dominated red carpets recently.
For a softer look, leave one or two thin face-framing pieces out of the bun before securing. This combines the polish of the sleek base with a romantic accent at the front, particularly flattering for weddings and date nights.
How to Maintain the Bun Throughout the Day
Even a well-built bun benefits from a quick midday refresh. Carry a few extra bobby pins and a travel-sized hairspray in your bag. Around lunchtime, give the bun a quick mist of hairspray and press it gently with your palm to reset the shape. If any flyaways have emerged at the hairline, run a small amount of hand cream or lip balm over your palm and smooth them down. It works in a pinch when you have no styling product on you.
At the end of the day, take the bun down gently. Remove all bobby pins first, then carefully unwrap and unroll the twist before sliding off the elastic. Yanking the elastic out before unwrapping is the fastest way to break the hair you spent the day protecting.
Final Thoughts
A sleek bun is one of the most versatile hairstyles in the world because it adapts to almost every situation while requiring no professional skill and almost no money. The only investment is the technique itself, which improves with every attempt. By your fifth bun, the entire process will take under five minutes. By your tenth, it will look better than most salon versions you would pay for.
Mastering this single style means you always have an option that works, no matter what the day, weather, or schedule throws at you. It is the kind of small skill that quietly elevates how you carry yourself, which is exactly what great hair has always done.